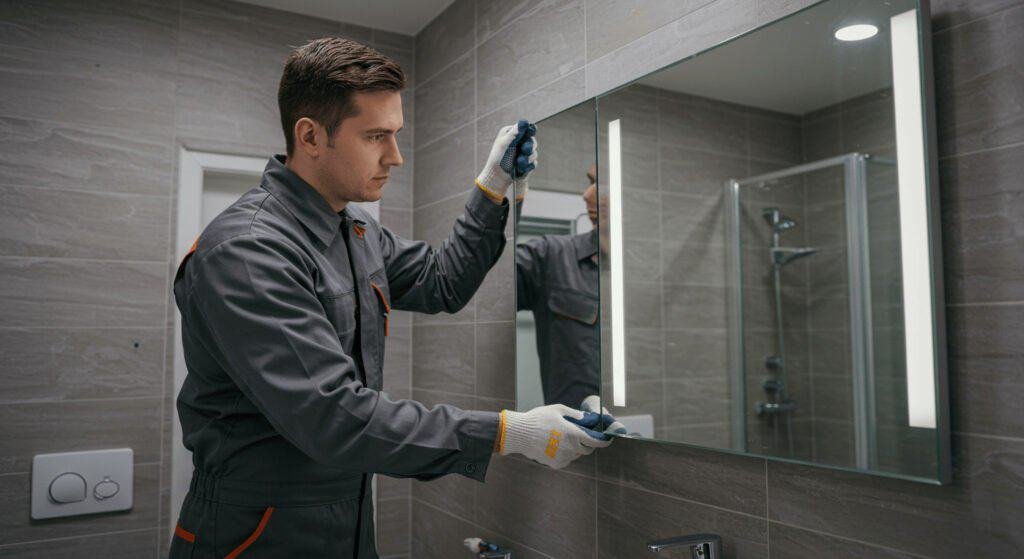
How to remove a bathroom mirror? Removing a bathroom mirror can result in costly damage to walls and dangerous glass shards if done incorrectly. This comprehensive guide provides professional techniques to safely remove any type of bathroom mirror without breaking it or damaging your walls.
The safest approach involves identifying the mounting method, gathering proper tools including safety equipment and adhesive solvents, then following systematic removal steps. Most bathroom mirrors can be successfully removed using heat application, cutting tools, and patience.
Let’s explore the complete process with detailed instructions for every situation you might encounter.
Are All Bathroom Mirrors Glued to the Wall?
Not all bathroom mirrors are glued to the wall, though adhesive mounting has become increasingly common in modern installations.
Bathroom mirrors typically use three primary mounting methods: construction adhesive or mirror mastic, mechanical fasteners such as screws and brackets, or clip-based systems that hold the mirror against the wall.
Traditional installations often employed mechanical fasteners, particularly for larger mirrors or commercial applications. Cependant, contemporary bathroom designs frequently favor adhesive mounting because it creates a cleaner appearance without visible hardware.
Led mirror installations and modern lighted mirrors for bathrooms often combine both methods, using adhesive for the main mounting surface while incorporating mechanical connections for electrical components. The choice of mounting method depends on factors including mirror weight, wall material, moisture exposure, et préférences esthétiques. Understanding your specific installation type is crucial for selecting the appropriate removal strategy.
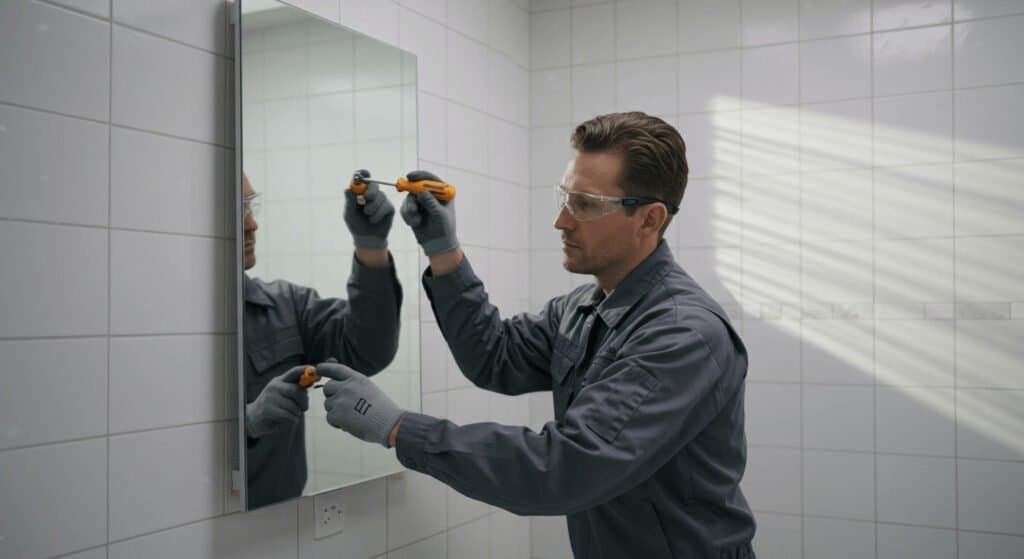
Preparation and Safety Measures
Proper preparation significantly reduces the risk of injury and property damage during mirror removal.
Essential safety equipment includes safety glasses, work gloves, dust masks, and protective clothing. Required tools encompass heat guns or hair dryers, putty knives, wire cutting tools, and plastic sheeting for debris collection.
Safety preparation extends beyond personal protective equipment to include securing the work area and planning for emergency situations. Begin by removing all items from the bathroom counter and surrounding areas to create adequate workspace. Cover floors and fixtures with plastic sheeting or drop cloths to protect against glass fragments and adhesive residue.
Ensure adequate ventilation when using chemical solvents, and maintain a clear path to exits. For lighted vanity mirrors or led bathroom mirror installations, locate and turn off electrical power at the circuit breaker before beginning work. Keep a first aid kit accessible and consider having an assistant available for handling large mirrors. Prepare containers for collecting glass fragments and adhesive waste, and research local disposal requirements for these materials.
What Dissolves Mirror Glue?
Effective mirror adhesive removal requires selecting appropriate solvents based on the specific adhesive type used in the installation.
Commercial adhesive removers, mineral spirits, and acetone-based solvents effectively dissolve most mirror mounting compounds. Heat application combined with these solvents accelerates the breakdown process significantly.
| Adhesive Type | Recommended Solvent | Application Method | Safety Considerations |
|---|---|---|---|
| Construction Adhesive | Mineral Spirits | Apply with cloth, allow 10-15 minutes penetration | Use in ventilated area, wear gloves |
| Mirror Mastic | Commercial Adhesive Remover | Spray application, work with plastic scraper | Avoid skin contact, use eye protection |
| Silicone Sealant | Silicone Remover or Acetone | Direct application, mechanical scraping | Highly flammable, no open flames |
| Double-sided Tape | Heat + Citrus-based Cleaner | Warm application, gentle removal | Generally safe, minimal ventilation needed |
Professional-grade solvents typically provide faster results than household alternatives, though they require additional safety precautions. Goo Gone, WD-40, and similar penetrating oils can effectively soften adhesive residues on both glass mirror surfaces and wall materials. When working with led mirror or backlit mirror installations, exercise extra caution around electrical connections and avoid allowing solvents to contact electronic components. Test any solvent on an inconspicuous area first to ensure compatibility with wall finishes and mirror coatings.
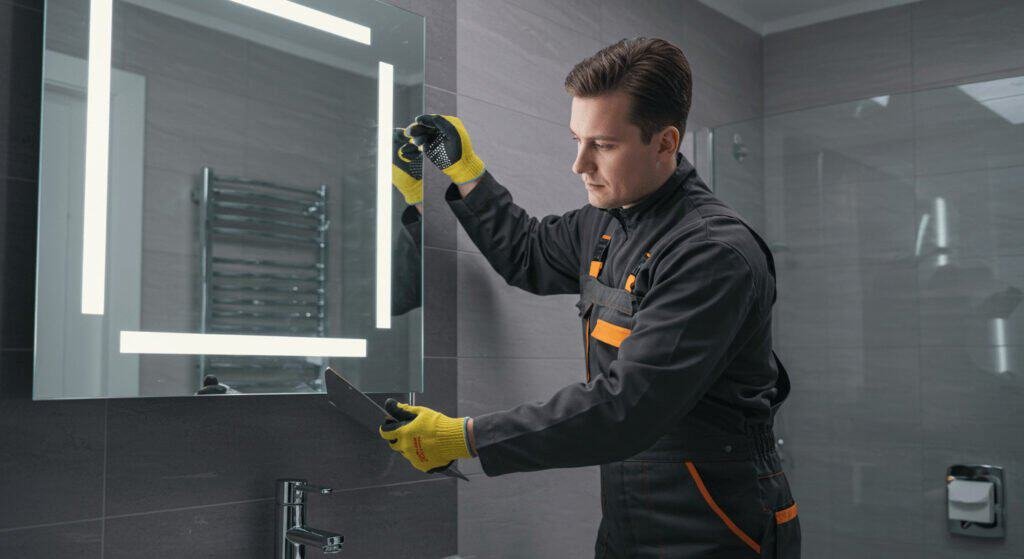
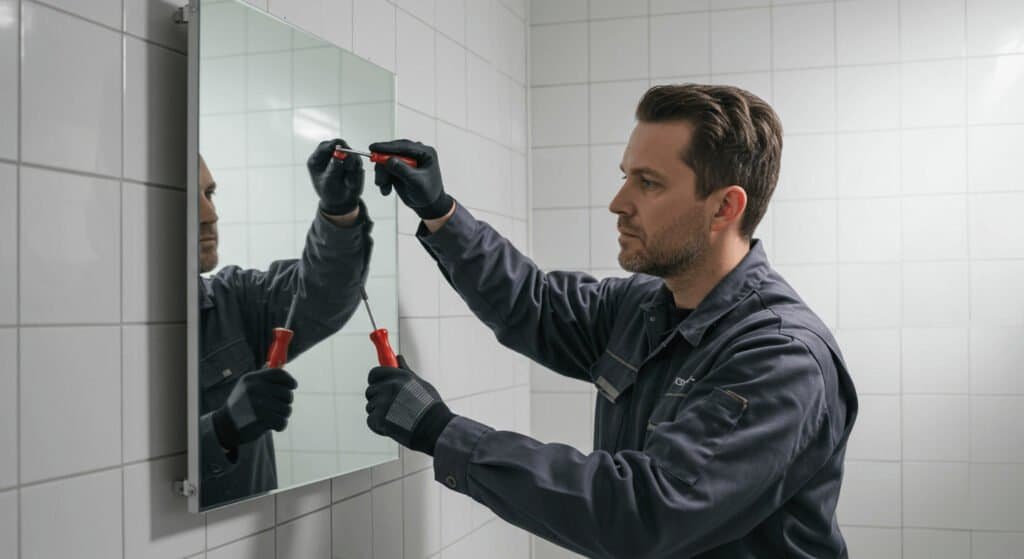
How to Remove a Bathroom Mirror That’s Been Glued to the Wall?
Removing stuck on mirror installations requires systematic approach combining heat, cutting, and careful prying techniques.
Start by applying controlled heat using a hair dryer or heat gun to soften the adhesive, working in small sections. Use a thin wire or fishing line to cut through the adhesive bond behind the mirror, maintaining steady pressure while protecting your hands.
The process of removing a bathroom mirror with adhesive mounting demands patience and methodical execution. Begin heating at one corner of the mirror, maintaining the heat source approximately six inches from the glass surface to avoid thermal shock that could cause cracking. As the adhesive softens, insert a thin putty knife or specialized mirror removal tool between the glass and wall surface.
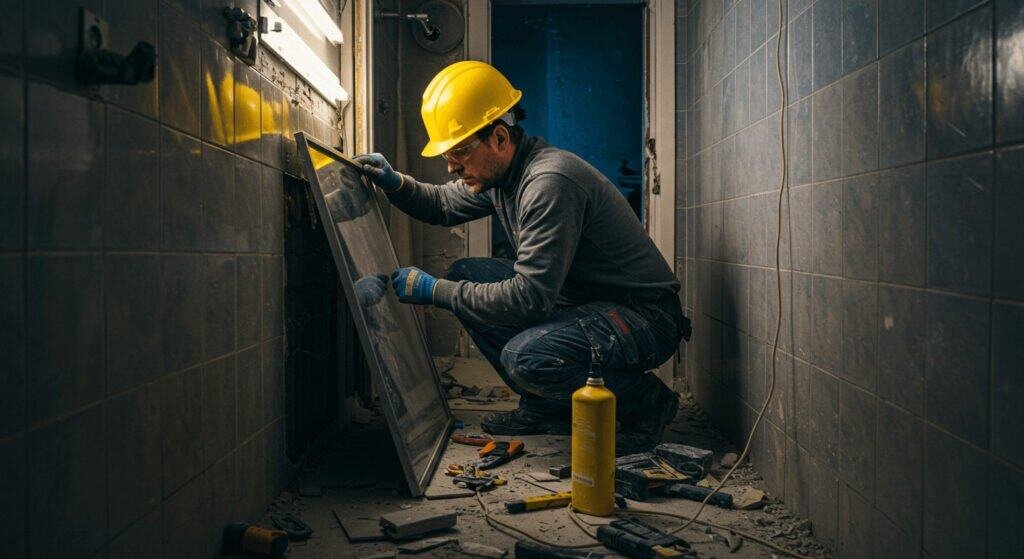
Work the tool horizontally while continuing heat application, gradually expanding the separation zone. For particularly stubborn installations, dental floss or piano wire can effectively cut through adhesive layers. Maintain consistent pressure while avoiding sudden movements that might cause the mirror to fall unexpectedly. Large bathroom vanity mirrors may require sectional removal, starting from the top and working downward to control the weight distribution throughout the process.
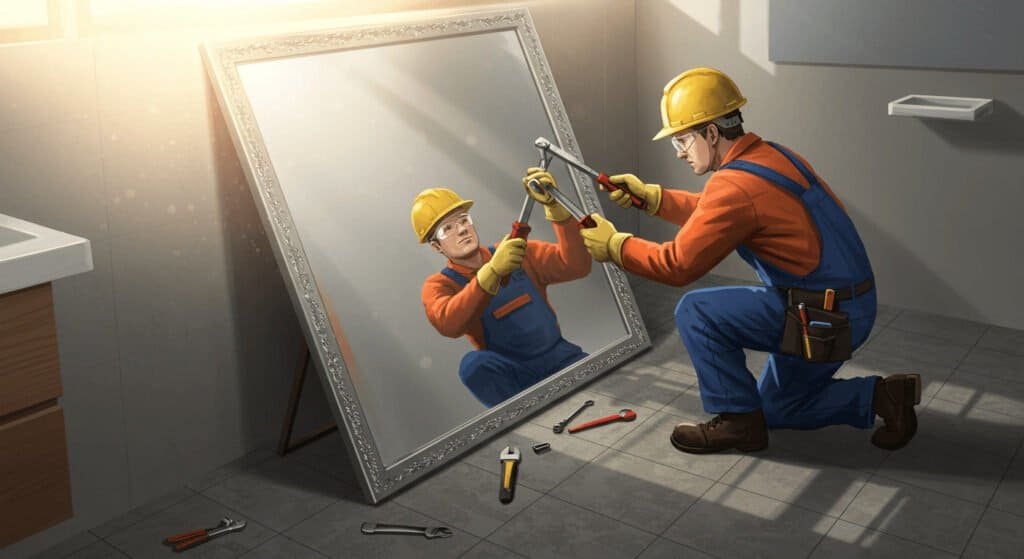
How to Cut a Mirror That’s Glued to the Wall?
Cutting mirror on wall requires specialized techniques and tools to ensure safe sectional removal of large installations.
Professional mirror cutting utilizes glass scoring tools and controlled breaking techniques. Score lines should penetrate the glass surface consistently while avoiding excessive pressure that could cause immediate fracturing.
The process of cutting mirror on wall installations presents unique challenges due to limited access and structural support constraints. Begin by marking cut lines using a straightedge and permanent marker, planning sections that remain manageable in size and weight. A quality glass cutter with a sharp carbide wheel provides the most reliable scoring results. Maintain consistent pressure throughout the scoring motion, completing each line in a single pass to avoid uneven stress distribution.
For rectangular bathroom mirrors, plan cuts that create symmetrical sections, typically dividing the mirror into quarters or thirds depending on overall dimensions. Support each section during the cutting process using temporary adhesive strips or suction cup handles. After scoring, apply controlled pressure along the score line while supporting the glass on both sides to achieve clean breaks.
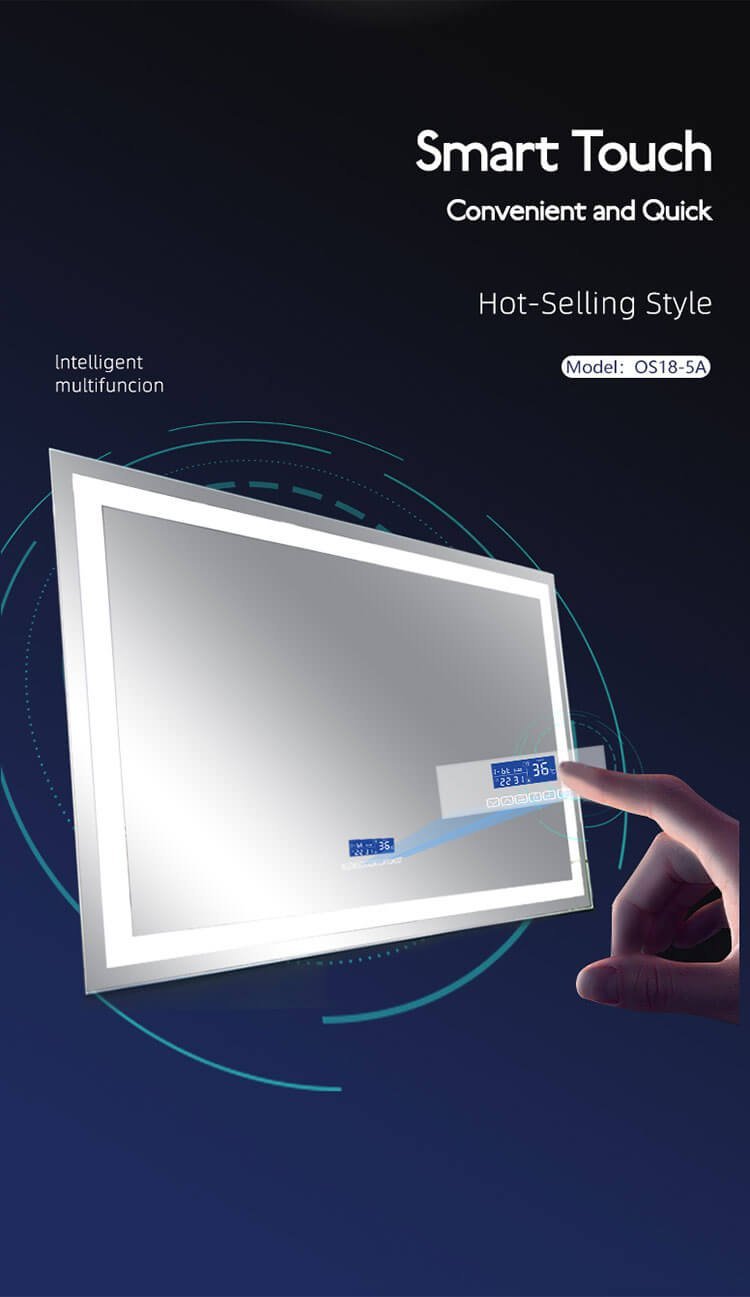
How to Remove an Electric Bathroom Mirror?
Led light mirror vanity installations require electrical safety protocols in addition to standard mirror removal procedures.
Always disconnect power at the circuit breaker before beginning work on any lighted vanity mirror or bathroom light mirror installation. Identify and carefully disconnect all electrical connections following proper wire handling procedures.
Electric mirror removal demands comprehensive understanding of both mechanical mounting systems and electrical connections. Modern lighted makeup mirror and vanity mirror with led lights installations typically incorporate junction boxes concealed behind the mounting surface. Begin by photographing electrical connections before disconnection to facilitate future installations. Use appropriate electrical tools including wire nuts and electrical tape to secure disconnected wires safely.
Led vanity mirror installations often include dimmer controls and switch connections that require careful documentation during removal. Wall mirror with lights may incorporate transformers or power supplies that need separate disconnection and removal. Bathroom vanity lights integrated with mirror systems present additional complexity requiring coordination between lighting and mirror removal procedures. Consult electrical codes and consider professional assistance for complex lighted bathroom mirror installations involving hardwired connections.
How to Remove Construction Glue from a Mirror?
Construction adhesive presents the most challenging removal scenario due to its exceptional bonding strength and durability.
Mechanical removal combined with chemical softening provides the most effective approach. Use plastic scrapers to avoid scratching glass surfaces while applying consistent solvent treatment to break down the adhesive bond.
Construction glue removal from glass mirror surfaces requires patience and systematic approach to preserve mirror integrity. Begin with heat application using controlled temperature settings to avoid thermal stress on the glass. Apply penetrating solvents generously, allowing adequate dwell time for chemical breakdown of the adhesive matrix. Plastic putty knives or specialized glass scrapers prevent surface damage while providing necessary mechanical action.
For stubborn residues, alternating between solvent application and gentle scraping yields the best results. Acetone or commercial construction adhesive removers typically provide superior performance compared to household products. Work in small sections to maintain solvent effectiveness and prevent premature evaporation. Multiple treatment cycles may be necessary for complete removal, particularly with aged adhesive installations that have achieved maximum cure strength.
How to Remove Something Stuck with Silicone?
Silicone sealant removal requires specific techniques due to the material’s unique chemical and physical properties.
Specialized silicone removers or mechanical cutting tools effectively address silicone bonds. Allow adequate penetration time for chemical solvents while using plastic tools to avoid surface damage during mechanical removal.
Silicone adhesive presents distinct challenges compared to traditional construction adhesives due to its flexible, rubber-like properties when cured. Professional silicone removal products contain solvents specifically formulated to break down silicone polymer chains, making mechanical removal significantly easier. Apply these products liberally to affected areas and allow the recommended dwell time, typically fifteen to thirty minutes depending on product specifications and ambient temperature.
Use plastic razor blades or similar non-metallic tools to gently lift and peel the softened silicone material. For small bathroom mirror installations where silicone was used for edge sealing, careful cutting with utility knives can effectively separate the bond without mirror damage. Room mirror ideas increasingly incorporate silicone mounting due to its vibration resistance and moisture tolerance, making proper removal techniques essential for successful mirror replacement projects.
How Much Does It Cost to Remove a Wall Mirror?
Professional mirror removal services typically range from fifty to two hundred dollars depending on size, mounting method, and complexity factors.
Cost factors include mirror dimensions, installation type, electrical components, and disposal requirements. DIY removal eliminates labor costs but requires tool investment and assumes personal liability for damages.
| Service Type | Size Range | Typical Cost | Additional Factors |
|---|---|---|---|
| Basic Adhesive Mirror | Under 24″ x 36″ | $50 – $80 | Standard wall mounting |
| Large Bathroom Vanity Mirror | 36″ x 48″ or larger | $100 – $150 | May require two technicians |
| Electric/LED Mirror | Any size | $120 – $200 | Electrical disconnection required |
| Commercial/Frameless | Varies | $80 – $250 | Specialized equipment needed |
Professional services provide insurance coverage and expertise that justify the cost to remove bathroom mirror installations, particularly for valuable or complex systems. DIY approaches can reduce expenses to twenty to fifty dollars for tools and materials, but assume full responsibility for potential damages. Factors affecting professional pricing include accessibility, wall conditions, disposal requirements, and regional labor rates.
Lighted vanity mirrors for bathroom applications command higher removal fees due to electrical safety requirements and specialized handling procedures. Emergency removal services or those requiring weekend scheduling typically incur premium pricing. Consider the replacement value of surrounding fixtures and finishes when evaluating the cost-benefit analysis of professional versus DIY removal approaches.
How to Pick Out a Bathroom Mirror?
Selecting an appropriate replacement involves considering size proportions, lighting integration, mounting options, and functional requirements for your specific bathroom environment.
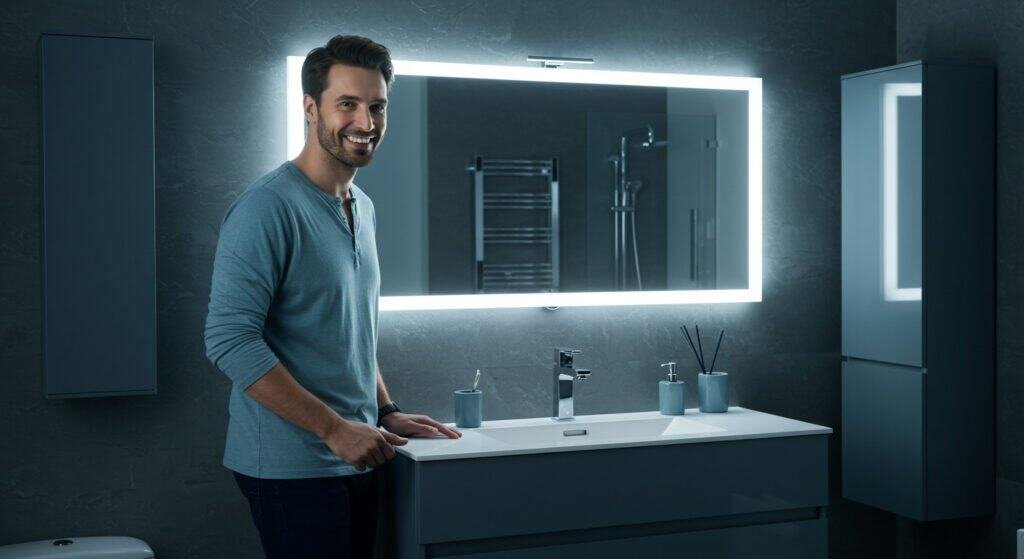
Modern bathroom mirror selection should account for vanity dimensions, lighting needs, and installation preferences. Led bathroom mirror options provide integrated illumination while backlit mirror designs create ambient lighting effects that enhance the overall bathroom aesthetic.
Contemporary mirror selection extends far beyond simple reflective surfaces to encompass integrated technology and sophisticated design elements. Modern lighted mirrors for bathrooms incorporate features such as anti-fog heating elements, color temperature adjustment, and smart home connectivity.
Bathroom vanity mirrors should maintain proportional relationships with vanity widths, typically measuring seventy to eighty percent of the vanity surface for optimal visual balance. Light up vanity mirror installations eliminate the need for separate fixture mounting while providing superior task lighting distribution. Consider ceiling height and user requirements when selecting mirror dimensions, ensuring adequate clearance for daily use.
Mirrors with black frame options provide contemporary styling that complements modern bathroom designs, while traditional frameless installations maintain timeless appeal. Led mirror technology offers energy efficiency and longevity advantages over conventional lighting approaches, making them increasingly popular for both residential and commercial applications.
Conclusion
Successful bathroom mirror removal requires proper preparation, appropriate tools, and systematic execution of safety protocols. Whether dealing with adhesive mounting or electrical installations, patience and careful technique prevent costly damages while ensuring personal safety throughout the process.
- Cliquez ici pour savoir Qu'est-ce qu'un miroir sans cuivre?
- Si vous ne savez pas non plus comment choisir la bonne hauteur de salle de bain, cliquez ici.
- En savoir plus sur les problèmes de miroir de salle de bain LED
- Cliquez ici pour savoir pourquoi le miroir à capteur tactile ne fonctionne pas
- Cliquez ici pour savoir quelles sont les tailles standard de miroir de courtoisie?
- Cliquez ici pour savoir Pourquoi les miroirs sont-ils si chers?
- Cliquez ici pour savoir Les miroirs LED ont-ils besoin d'électricité?
- Cliquez ici pour savoir Un miroir éclairé est-il suffisamment lumineux pour une salle de bain?
- Find out 10 Common LED Bathroom Mirror Problems Click Here